Pulley system progression: is it worth it in practice?

Is a pulley system progression worth it in practice?

The practical question in any rope rescue haul is this: when the load gets heavy, do you step up to a higher mechanical advantage? And if you do, is the gain worth the time and complexity of reconfiguring the system? This article tests a series of pulley system progressions from a 3:1 simple through to an 11:1 complex, using load cells to compare predicted efficiency at 90% pulley efficiency against what the hauler actually felt. Two specific questions drove the testing.

This article assumes you’re familiar with basic pulley system types — simple, compound, complex and how mechanical advantage is calculated. If you’re new to pulleys or want a refresher, read Pulley Systems 101 first. There’s a free 10-page PDF download at the end of that article.

What is a pulley system progression

A progression means stepping from a smaller mechanical advantage to a larger one — say from a 3:1 simple (3:1s) up through a 3:1 with change of direction (3:1sCD), to a 5:1 simple, and eventually to a 9:1 compound (9:1c) — as the haul gets harder.

You start with the smallest MA that makes hauling efficient for your load, team size, distance, and expected friction. A team of two with efficient pulleys can typically haul a 100kg load on a 3:1s without difficulty. When conditions change — load increases, haulers fatigue, friction rises — the question is which system to progress to, and whether the step up is worth making.

3_1s_9_1c progression 2026
Pulley Progression Simple to Compound

You have a progression planned and can go from one pulley system to the next to increase (or decrease) MA. Below is a complex pulley-system progression that integrates with the simple-to-compound progression above as needed.

5_1cx_11_1cx progression 2026
Pulley Progression Complex
For more detailed information: 

Rope Rescue & Rigging Field Guide

for Cave, Canyon, Alpine and Rock

A waterproof, A6 field guide covering knots, anchors, lowering, pulleys, changeovers, and stretcher rigging for backcountry rope rescue — built for teams who carry their gear on foot.

Questions

These are the two questions I had regarding Pulley System Progressions:

  1. When you step up to the next pulley system in a progression, does it actually reduce the force on the haulers in practice?
  2. Are there any pulley systems in the progression that stand out as noticeably more or less efficient than the others?

Theory

We used the T (tension) method to calculate MA, first assuming 100% efficient pulleys, then at 90% — close to the 91% Petzl records for the Partner and Mini pulleys used in testing.

3_1 T method 2026
3:1s using T-method 100% Pulleys

At 90% efficiency, the 3:1s becomes a 2.71:1. Friction compounds as the system grows, so the gap between theoretical and real-world MA widens with each additional pulley.

Equipment, Setup and Method

Equipment

  • Load cells: ×2 Rock Exotica/CMC Enforcers, ±2% accuracy, 0.02kN increments
  • Rope: 9.5mm Kordas Fina semi-static Type A (EN1891), 4.1% elongation, breaking strength 26.3kN
  • Pulleys: Petzl Mini and Partner (91% efficiency)
  • Redirect: Rock Exotica Large Omni Block
  • Rope grabs: Petzl Tibloc, Petzl Basic
  • Load: rocks in an Aspiring 75L PVC bag
  • Hauler: one person via cowstail on harness

Setup

3_1 T method Friction Pulleys 2026
2.71:1s using T-method 90% Pulleys
Pulley System Friction Test Setup 2026
Testing setup

Method

  • Load cells were zeroed before each test.
  • The premade 5:1 was tested first to establish baseline force at the end of the system after the redirect pulley (0.92kN).
  • For all subsequent tests, I walked back, monitoring the load cell, checking that max and actual readings were consistent, and hauling the load approximately 1m off the ground before stopping.

Results

Mechanical Advantage (MA) calculations were performed in a spreadsheet and rounded to two decimal places only at the final step.

  • MA 100% — theoretical MA with no pulley friction
  • MA 90% — theoretical MA at 10% friction loss per pulley
  • Haulers 100% — force required with no friction
  • Haulers 90% — force required at 10% friction loss per pulley
  • Actual — measured force at the haul end. As baseline force was 0.92kN, all values were multiplied by 1.087 to normalise to 1kN
  • Difference — gap between Haulers 90% and Actual

Conclusions

1. Is progressing to a higher MA worth it in practice?

  • Yes. With efficient pulleys, the measured results tracked closely with the predicted 90% efficiency values, and each step up in the progression produced a genuine reduction in hauling force.
  • As the hauler in the test, the difference was tangible — not just a change in the numbers.

2. Are there any pulley systems in the progression that stand out as more or less efficient than the others?

Two findings are worth noting.

  • The 5:1cx and 5:1s perform almost identically, despite the 5:1s using four pulleys and the 5:1cx using only three. The reason comes down to how the travelling pulleys act on the load: in the 5:1s, both attach to the same rope grab and act directly; in the 5:1cx, one goes around a fixed pulley first, introducing a slight inefficiency that offsets the advantage of having fewer components.
  • The 3:1sCD performs poorly when pulling in the opposite direction. Test results showed the hauliers apply 48% of the load — roughly half — making it a poor choice for pulling downhill or away from an anchor. For those situations, use the 5:1cx instead.
Want to learn more about: 

Rope Rescue Training

for Cave, Canyon, Alpine and Rock

If you’re working through this with a team, Over the Edge Rescue training courses can be delivered in your environment using your own equipment — which makes the progression from theory to fieldwork considerably faster.

Related Posts

webbing anchor header
Anchors

Is 16mm webbing strong enough for rescue?

The post tackles a practical question for backcountry rescue teams: is 16mm tubular webbing strong enough for anchor rigging, given the appeal of reducing weight in a rescue kit? To find out, the team ran a series of pull tests comparing different wrap-and-pull configurations — Wrap 1 Pull 1, Wrap 2 Pull 2, Wrap 2 Pull 1, and Wrap 3 Pull 2 — across several real-world surfaces: pins, carabiners, smooth rock, sharp rock, and edge-protected sharp rock. A baseline was first established using 25mm webbing before switching to the thinner 16mm webbing to see how it held up.
Read More »
Friction

Does a smaller radius have more friction?

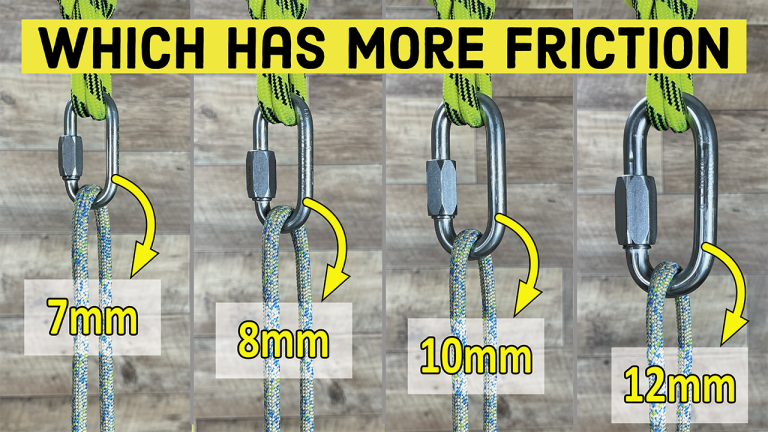
The post tackles a common assumption in rope work: that a smaller-radius device — a carabiner, mallion rapide, or belay device — produces more friction on a rope than a larger one, since the rope is thought to have more internal resistance as the radius decreases. To find out if this holds up, the team ran friction tests comparing stainless steel mallion rapides at 12mm, 10mm, 8mm, and 7mm, all using the same 8mm static rope. The results are checked against the Capstan Equation, which doesn’t include radius as a factor in the first place.

Read More »
Which has more friction One Carabiner or Two
Friction

Which Has More Friction, One Carabiner or Two?

With rope diameters trending smaller, there’s a common claim that two carabiners create more friction than one for a Munter hitch or a belay device like the Reverso. This post tests that claim across three stages: measuring the coefficient of friction directly, running slow-pull tests on different devices, and finally trying it out on a practical 10m abseil, using both round and frame-style carabiners.

Read More »

Get the
top 5 rescue
checklist

Moments away

Want to be ready for rescue?

Get clarity, organised and practised