Setting up your Prusiks for Lightweight Rescue

What’s in this post?

We review how to set up 8mm Prusik loops for 10mm rescue rope. 

Context

Prusik Loops are tied with 3-wraps (3-on-3) onto the rescue rope to form a progress capture or rope grab in a pulley system for rope rescue.

Pulley system setup
Pulley system setup

Prusik Cord

The Prusik cord we choose to use was an 8mm 16kN Kordas Accessory Cord

This cord is flexible and grips well onto the 10mm rope. By flexible cord I mean you can bend in half easily when pressed between your thumb and fore (index) finger.

Prusik Cord Flexibility

Why this cord? 

From actual field experience, the cord doesn’t easily work harden over extended use, i.e. become stiff. It works even when full of mud and can be cleaned and reused. Other accessory cords may not work as well. 

Remember, the Prusik cord doesn’t last forever, so monitor and replace it regularly.

So why such a high rating on the cord? 

The idea was to match the Prusik breaking strength and rescue rope we use. 

  • The 10mm rescue ropes without knots have a breaking strength of around 27kN
  • The 8mm as a loop without bends have a breaking strength of around 16kN x 2 = 32kN

 Cutting Lengths

  • 120cm (with 3.5cm tails and tensioning, the finished loop is around 37cm)

 Notes

  1. Try to use a different coloured cord compared to your rope.
  2. The loop is sized to use with a small Prusik minding pulley, such as the Rock Exotica Mini and the Petzl Mini (shown below).
Rock Exotica Mini PMP 30kN 83g
Petzl Mini PMP
Petzl MINI PMP 23kN 80g
  1. The length is based on having a gap of around the width of 4-5 fingers (or 8-9cm) between the top of a 3-Wrap Prusik when tied and the base of the Prusik minding pulley. This length allows the Progress Capture Prusik to be released after loading – you need more length than you think.
PMP 4 fingers gap
PMP 4 fingers gap

Tying and tensioning the Prusiks

  • Tie with a double fisherman’s bend. Check out how to tie it below.
  • Tails are 3.5cm long.
  • Tension with one foot in the loop, with the bend in one side, and pull up on that side (or use a pulley system).

Note: We prefer to use the double fisherman’s bend as, in testing, the loop was, on average, over 20kN.

See the test report for more information Let’s Lighten The Load

Measure the bight

  • The Prusik bight is around 4cm.
Measuring the Prusik bight
Double fisherman's bend

Capture the carabiner

  • Capture the carabiner to prevent cross-loading.
  • Use a couple of rubber rings. The ones we use are from a farm supply shop.

Note: This type of carabiner capture takes less time and uses less space than heat shrink

Carabiner capture
Carabiner capture

When you are done

  • Tie the Prusik with an overhand halfway along.
  • Clip the Prusik onto a carabiner and clip it back again to make it short.
  • Clip to your harness.
Prusik on a carabiner

Put in your name and e-mail address below if you want this post as a downloadable pdf.

Grant

Over the Edge Rescue

Author’s Note: This post was originally published in February 2018 and has been completely revamped and updated for accuracy and comprehensiveness.

Disclaimer

SUMMARY: This post is not an instructional guide. Use at your own risk. We assume no responsibility or liability for any errors or omissions. Testing was under controlled conditions with a limited set of equipment. The views, information, or opinions expressed in the post are solely those of the author. 

For the full disclaimer, click HERE

Related Posts

webbing anchor header
Anchors

Is 16mm webbing strong enough for rescue?

The post tackles a practical question for backcountry rescue teams: is 16mm tubular webbing strong enough for anchor rigging, given the appeal of reducing weight in a rescue kit? To find out, the team ran a series of pull tests comparing different wrap-and-pull configurations — Wrap 1 Pull 1, Wrap 2 Pull 2, Wrap 2 Pull 1, and Wrap 3 Pull 2 — across several real-world surfaces: pins, carabiners, smooth rock, sharp rock, and edge-protected sharp rock. A baseline was first established using 25mm webbing before switching to the thinner 16mm webbing to see how it held up.
Read More »
Friction

Does a smaller radius have more friction?

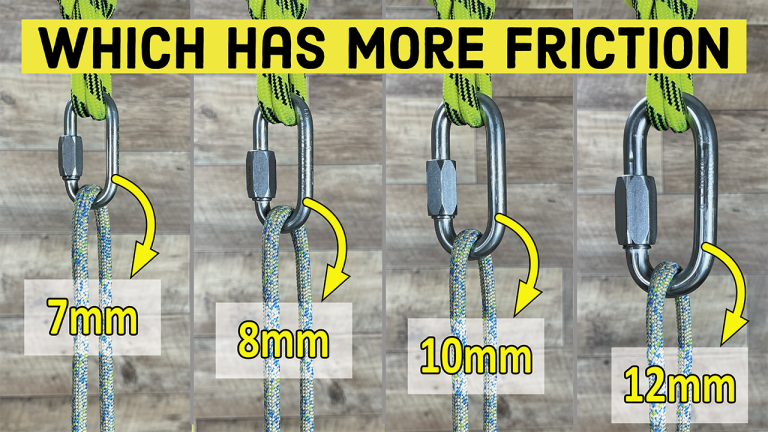
The post tackles a common assumption in rope work: that a smaller-radius device — a carabiner, mallion rapide, or belay device — produces more friction on a rope than a larger one, since the rope is thought to have more internal resistance as the radius decreases. To find out if this holds up, the team ran friction tests comparing stainless steel mallion rapides at 12mm, 10mm, 8mm, and 7mm, all using the same 8mm static rope. The results are checked against the Capstan Equation, which doesn’t include radius as a factor in the first place.

Read More »
Which has more friction One Carabiner or Two
Friction

Which Has More Friction, One Carabiner or Two?

With rope diameters trending smaller, there’s a common claim that two carabiners create more friction than one for a Munter hitch or a belay device like the Reverso. This post tests that claim across three stages: measuring the coefficient of friction directly, running slow-pull tests on different devices, and finally trying it out on a practical 10m abseil, using both round and frame-style carabiners.

Read More »

Get the
top 5 rescue
checklist

Moments away

Want to be ready for rescue?

Get clarity, organised and practised